Showing posts with label cross-stitch. Show all posts

Saturday, February 1, 2014

Tutorial: Lace-Trimmed Pincushion


A couple of months ago, I posted about the cute pincushion that I made for my sister for her birthday.  That's it in the photo above.  I liked the finished pincushion so much that I ended up making four more of them for Christmas gifts!  So, I decided I might as well show you all how to make them.  By the way, although I started off with a cross-stitched design, this same technique would work to make a small pincushion from most anything made out of fabric.  The design could be embroidered, sewn, painted, or it could be a quilt-block type design (pieced).  As long as you have a fabric front and back, you can make the design into a pincushion.

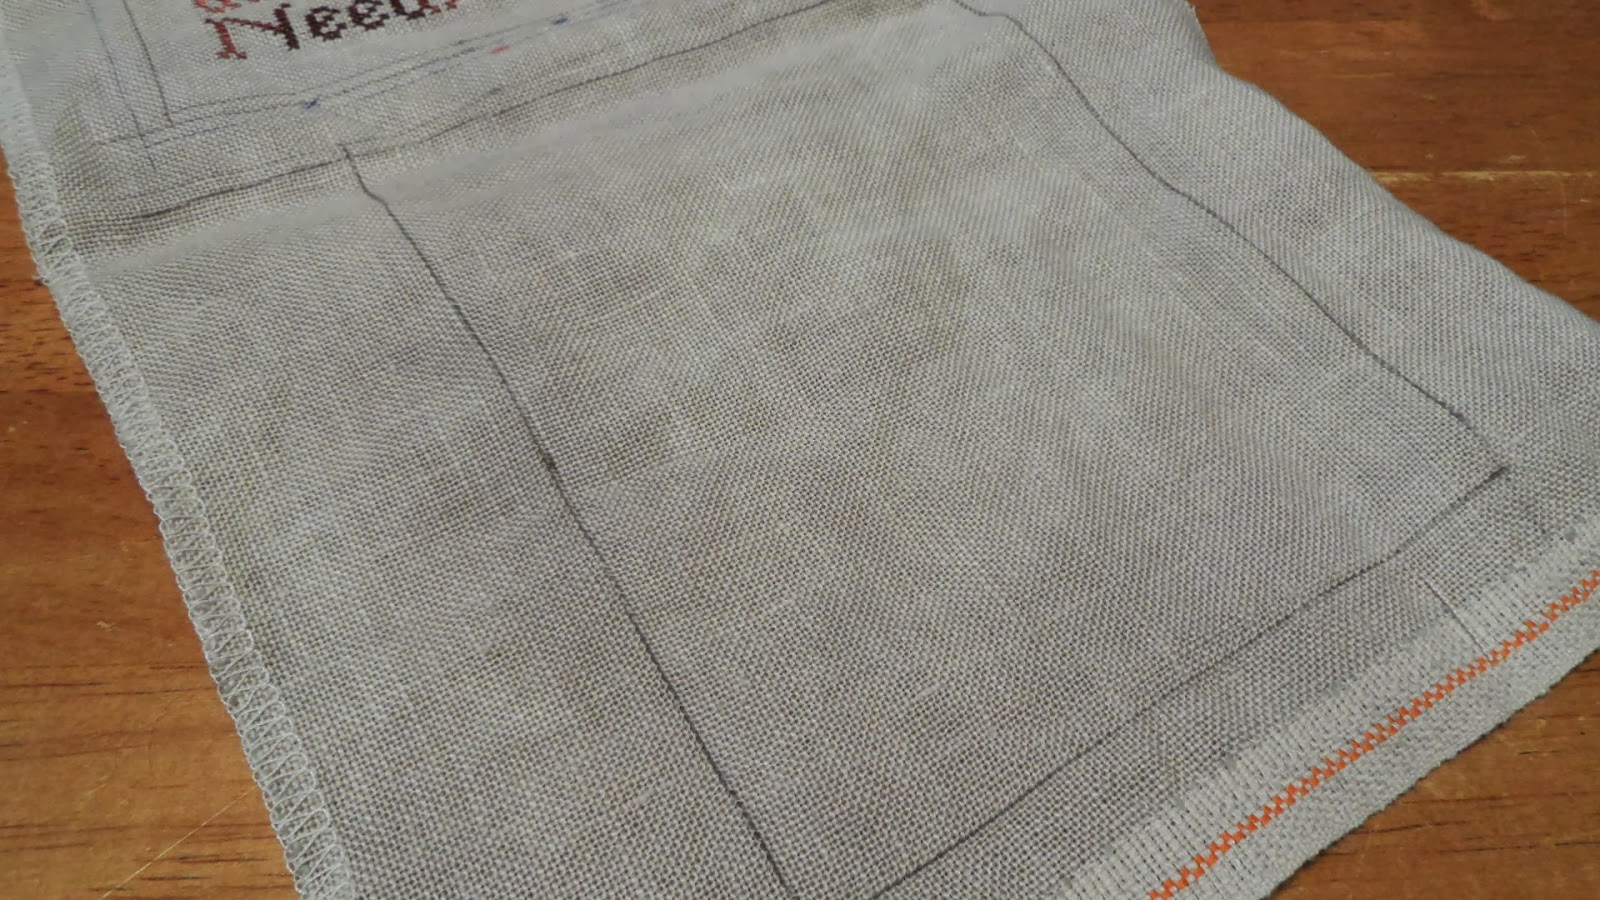
First draw two borders around your design, as I've shown below.  The outer border is going to be the cutting line, and the inner border will be the stitching line.  My design was intended to fill up the fabric, so I simply measured 1/2" from the outer edges of the stitching for the inner border, and then I added another 1/4" to get the outer border.  I marked the inner border with pencil and the outer border with pen.  If you are working with a small, centered design, just figure out the size that you want the finished pincushion to be.  That measurement will be your stitching line, then add the seam allowance to that to get your cutting line.


Next, on the piece of fabric that you want to use for the back, draw a rectangle that is the measurement of the cutting line. 

Cut out the two rectangles, then head to the ironing board. Cut two pieces of fusible interfacing a little larger than your fabric pieces.  Fuse the interfacing to the WRONG sides of your fabric.  (The purpose of the interfacing is to make sure the filler material stays inside the pincushion -- especially important if you're using a fabric like linen as I did.)  Trim the interfacing so it's even with the edges of the fabric pieces.


Next, place the front of the pincushion face up on a work surface.  Starting at the bottom center, pin lace or other trim into place, aligning the edge of the trim with the stitching line.  This is somewhat counter-intuitive, but the trim has to be pinned with the ruffled edge facing INWARD.  If your trim isn't pre-ruffled, add a long basting stitch along the edge of the trim with your sewing machine, and pull up the basting thread to gather the trim a bit as you go along.  As you go around the corners, add some extra gathers into the trim, so that it doesn't pull when the pincushion is turned right side out after it's sewn.  Overlap the trim a little as you come to the end.  FULL DISCLOSURE:  This step is the hardest part.  You have to gently force the trim to do what you want it to do.  Go slowly and pin carefully, especially at the corners.  Make sure the trim is right on that sewing line that you drew in earlier.  Use lots of pins.  


Once the trim is pinned in place, using a normal length straight stitch (not a basting stitch), machine sew right along the sewing line, being certain to catch the edge of the trim. 


Below is what the front of the pincushion should look like once the trim is stitched into position.


Now pin the front of the pincushion to the back, right sides together.  It's important to have the pincushion front ON TOP, so that you can see the stitching line where the trim was stitched down.


Starting in the middle of one of the long sides, machine stitch right along or just barely inside the trim stitching line, using a somewhat short stitch length.  Follow the line of stitching especially carefully at the corners.  Go all the way around the pincushion, stopping a couple of inches before you reach the beginning of your seam.  You need to leave an opening to turn the pincushion, and to fill it.  Here's the stitched pincushion, with the opening for turning.


Carefully turn the pincushion right side out.  This will take a bit of effort and coaxing.  Pull on the trim at the corners to be sure the corners are turned out the whole way.


Ground walnut shells make a great filling for your pincushion, and give it some weight.  You can get ground walnut shells at the pet store -- it's used as "litter" for lizards and some types of birds.  The bag I bought looked like this:


Scoop some of the filler into a shallow bowl, so that you have a nice big area to work over. 

Using a small spoon (a baby food spoon works great), fill the pincushion with the ground walnut shells through the opening that you left.  You want the pincushion to be fairly full, but not completely stuffed.


Once the pincushion is filled, carefully tuck the seam allowances in along the opening, and hand sew the edges of the opening closed, using very small stitches.  You can use a blanket stitch or any type of stitch that will overcast the edge. If you like, you can also tack the pieces of trim together along the bottom where they overlap (this is optional).

That's it -- your pincushion is finished, ready to give as a gift or to take its place next to your sewing machine.


I promise that once you've made one  of these pincushions, you'll want to make more, both because they're cute, and also because the ground walnut shells come in something like a 5 lb. bag.  (By the way, if  you know of another craft use for ground walnut shells, I'd love to know about it!)  Happy stitching!!


Monday, December 30, 2013

Cross-Stitch: Works in Progress


Well, it's December 30.  A new year is almost upon us.  So, it seemed like a good time to take stock of where I am on the various cross-stitch projects that I currently have in process.  I kind of like the idea of having progress pictures all in one place.

My first work in progress is Spring Queen, designed by Nora Corbett of Mirabilia.  My progress is shown in the photo below.  I am stitching her on antique white 32-count Belfast linen, which I just love.  As you can see, she is pretty close to being finished.  I'm currently doing the stitches requiring metallic thread, then I have a little bit more backstitching, and then all that's left is the beading.  This is a design I really need to focus on when I work on it, so I won't go back to this one til after the holidays are over and things are back into a routine.


Here is a picture of what she should look like when she is completely finished.  (Sorry for the terrible photo --I have no idea what happened there!)  Anyway, as you can see, I don't have far to go.


My second work in progress is an out of print design called Liza's Bouquet.  It's by Ginger & Spice.  I am stitching this one on 14-count white Aida fabric, using three strands of floss for really good coverage.  I adore this design, but it is really huge and also has a lot of backstitching, so it will take me awhile to finish.  It is a fun project to work on, though, because it is so colorful and cheery.


Here is a photo of what the finished design will look like.  As you can see, I have the top part of the bouquet done, but have a LOT more to go!


And finally, my last major work in progress is a design by Long Dog Samplers called Tyler's Lion.  Here is my progress on it so far:


And this is what it will look like when it's finished:


Obviously, I have a LONG way to go on this one, but that's okay.  I'm stitching it on hand-dyed 32-count Belfast linen.  The color is called Autumn Field, and it's a great neutral.

So, those are my current three projects.  I am not a "rotational" stitcher (and I didn't even know there was such a thing until recently), but I do like to have more than one project going at a time.  It's not so much that I get bored with one project and need to put it down, it has more to do with how hard I need to concentrate.  With something like the Spring Queen design, which is fairly complex and which I'm doing on linen, I really have to concentrate when I work on it.  There's lots of counting and it's easy to make a mistake.  Sometimes my eyes get tired, and I will pull out Liza's Bouquet, because it's so easy to stitch on Aida.  Also, although there are lots of color changes in this design, there is no confetti and most areas are small blocks of color.  Finally, I started Tyler's Lion because I wanted to do a design that was all one color.  I just love this look, and the added benefit of this is that this is a super easy project to take along somewhere, as all I need are my project, chart, scissors, and a skein of floss.  This is also a good design to work on while watching TV, because although counting is required, the motifs are simple and there are no color changes.

Now that I've shown you where I am on my various projects, I hope to do a post in the next few days with some goals for my stitching (and maybe other hobbies, too) for the upcoming year. 

Sunday, December 1, 2013

Cross-Stitched Pincushion

If there's one thing I just love, it's a gift that is PRACTICAL.  And this one is a double score, because it's practical AND pretty!

I made the pincushion pictured above a few weeks ago as a gift for my sister for her birthday, using a pattern from Blackbird Designs, and 32-count Vintage Maple Sugar linen.  I used over-dyed floss, which has some color variations in it, and I really like the subtle shaded effect that the floss gave this project.

The pincushion took a little lest than 2 days to embroider, and then I got stuck a bit on putting it together.  I couldn't seem to find the type of crocheted edging that I was envisioning, and then I couldn't find the right stuff to fill the pincushion with.  But, eventually I found everything and finished this little pillow up on the sewing machine.

Size-wise, it's about 4 x 5 inches, so it's not a tiny thing.  I gave this to my sister together with a limited edition pair of patterned 4-inch Gingher scissors.  My sister doesn't do embroidery, but she has recently started sewing, so I thought she'd like a small, good-quality pair of scissors to keep by her machine to clip threads and so forth.  And it's nice to have a good pincushion, too.  It helps keep your pins nice and sharp, and I find it so much easier to grab pins from a pincushion than sticking your fingers into a box or cup of pins.

Oh, as a final little bit of loveliness, I stitched my sister's initials into the top right hand corner of the pincushion, and the year in the bottom right hand corner.  I always find that personalization makes a gift just that much more special.