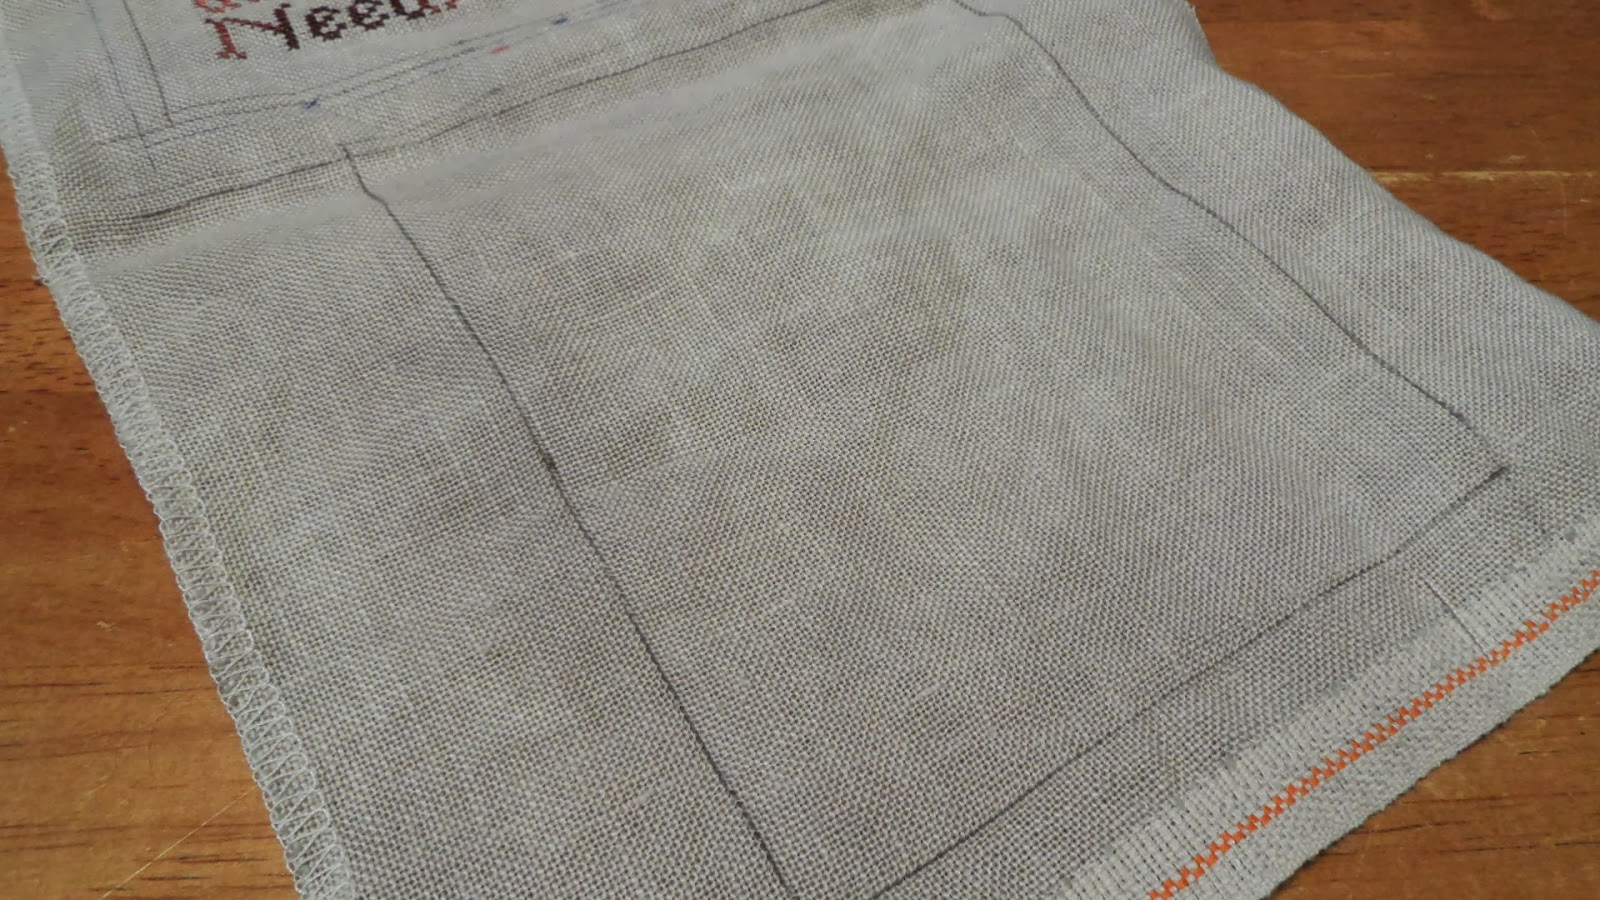
First draw two borders around your design, as I've shown below. The outer border is going to be the cutting line, and the inner border will be the stitching line. My design was intended to fill up the fabric, so I simply measured 1/2" from the outer edges of the stitching for the inner border, and then I added another 1/4" to get the outer border. I marked the inner border with pencil and the outer border with pen. If you are working with a small, centered design, just figure out the size that you want the finished pincushion to be. That measurement will be your stitching line, then add the seam allowance to that to get your cutting line.
Next, on the piece of fabric that you want to use for the back, draw a rectangle that is the measurement of the cutting line.
Cut out the two rectangles, then head to the ironing board. Cut two pieces of fusible interfacing a little larger than your fabric pieces. Fuse the interfacing to the WRONG sides of your fabric. (The purpose of the interfacing is to make sure the filler material stays inside the pincushion -- especially important if you're using a fabric like linen as I did.) Trim the interfacing so it's even with the edges of the fabric pieces.
Next, place the front of the pincushion face up on a work surface. Starting at the bottom center, pin lace or other trim into place, aligning the edge of the trim with the stitching line. This is somewhat counter-intuitive, but the trim has to be pinned with the ruffled edge facing INWARD. If your trim isn't pre-ruffled, add a long basting stitch along the edge of the trim with your sewing machine, and pull up the basting thread to gather the trim a bit as you go along. As you go around the corners, add some extra gathers into the trim, so that it doesn't pull when the pincushion is turned right side out after it's sewn. Overlap the trim a little as you come to the end. FULL DISCLOSURE: This step is the hardest part. You have to gently force the trim to do what you want it to do. Go slowly and pin carefully, especially at the corners. Make sure the trim is right on that sewing line that you drew in earlier. Use lots of pins.
Once the trim is pinned in place, using a normal length straight stitch (not a basting stitch), machine sew right along the sewing line, being certain to catch the edge of the trim.
Below is what the front of the pincushion should look like once the trim is stitched into position.
Now pin the front of the pincushion to the back, right sides together. It's important to have the pincushion front ON TOP, so that you can see the stitching line where the trim was stitched down.
Starting in the middle of one of the long sides, machine stitch right along or just barely inside the trim stitching line, using a somewhat short stitch length. Follow the line of stitching especially carefully at the corners. Go all the way around the pincushion, stopping a couple of inches before you reach the beginning of your seam. You need to leave an opening to turn the pincushion, and to fill it. Here's the stitched pincushion, with the opening for turning.
Carefully turn the pincushion right side out. This will take a bit of effort and coaxing. Pull on the trim at the corners to be sure the corners are turned out the whole way.
Ground walnut shells make a great filling for your pincushion, and give it some weight. You can get ground walnut shells at the pet store -- it's used as "litter" for lizards and some types of birds. The bag I bought looked like this:
Scoop some of the filler into a shallow bowl, so that you have a nice big area to work over.
Using a small spoon (a baby food spoon works great), fill the pincushion with the ground walnut shells through the opening that you left. You want the pincushion to be fairly full, but not completely stuffed.
Once the pincushion is filled, carefully tuck the seam allowances in along the opening, and hand sew the edges of the opening closed, using very small stitches. You can use a blanket stitch or any type of stitch that will overcast the edge. If you like, you can also tack the pieces of trim together along the bottom where they overlap (this is optional).
That's it -- your pincushion is finished, ready to give as a gift or to take its place next to your sewing machine.
I promise that once you've made one of these pincushions, you'll want to make more, both because they're cute, and also because the ground walnut shells come in something like a 5 lb. bag. (By the way, if you know of another craft use for ground walnut shells, I'd love to know about it!) Happy stitching!!


Thanks for the tutorial, your little pillow is adorable
ReplyDeleteWhat would you suggest for people with nut allergies?
ReplyDeleteThanks for sharing your blog. I still working through that crazy list of blogs. Please visit my embroidery blog if it strikes your fancy.
aprilsongstress