Hopefully, everyone was able to get the flat-felled and French seams done, because today we're moving on, and we're going to sew the two pant legs together into one garment piece. What we're sewing today is the crotch seam of the pj pants, which is the seam that goes from the center front of the waistband area to the center back. This is an important seam because it takes a LOT of abuse and gets a lot of wear.
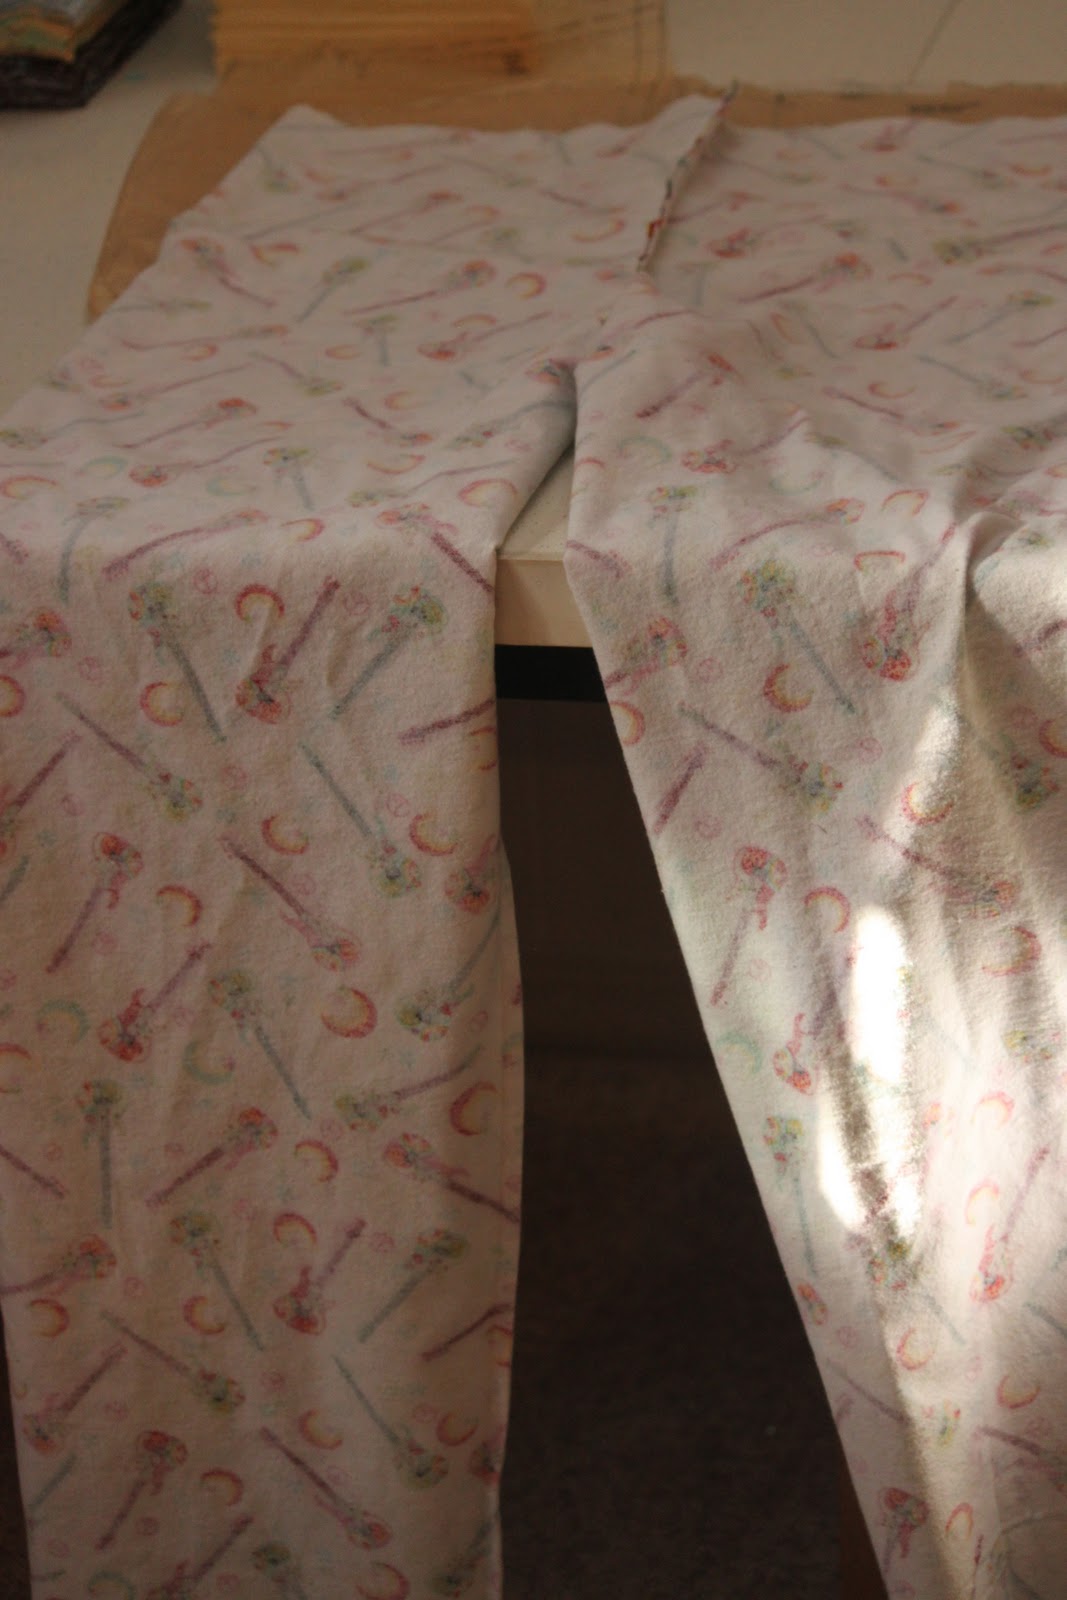
At this point, you have two pant legs, right? Turn ONE of those pant legs inside out, and leave the other right side out. Now, lay your two pant legs next to each other on a table or flat surface, with the inner leg seam facing you, like this:
Remember those pins I made you put in, so you could tell the front pieces from the back pieces? We're going to use those pin identifiers again in this step. When you lay your pant legs out, they need to be facing the same way. In other words, if you have the FRONT piece on one leg to the right of that inner leg seam, make you have the FRONT piece of the other leg to the right of the seam, also. Just look at those pins so you can easily tell that you've got it right.
Now, this might be a little bit confusing, but bear with me and you'll get it. What you're going to do is, making sure that the inner leg seam of both pieces continues to face you, simply feed the pant leg that is right side out INTO the pant leg that is wrong side out. The idea is that we're going to line up that crotch seam on the two pieces so that we can sew it. Here is a photo of the right side out pant leg being fed down into the wrong side out pant leg:
When you're finished, one leg will be inside of the other, wrong sides of the fabric showing, with that crotch seam all lined up and ready to be pinned together, like this:
Now, go ahead and pin that crotch seam together, placing your pins along the INSIDE as the pant legs are facing you. The next photo shows what I mean by putting the pins along the inside:
Pin the whole way along the seam, and as you go, be careful to match up the notches (there will be one in the front and one in the back), and you also must match the inner leg seams, as well as those "dots" or circles that we marked in red earlier.
Pin very carefully along the curved part of the seam, placing your pins pretty close together:
When you get to the red mark, make sure the center of your mark lines up with the center of the corresponding mark on the facing piece of fabric. I like to put my pin right through the center of the marking, to ensure that the "dots" are lined up:
The inner leg seam will be a little bit bulky because we have those seam allowances from the French seams that we need to deal with. The easiest thing to do is to match up the actual seam, then have one of the seam allowances going in one direction, and the other going in the opposite direction. I usually put TWO pins in at this area, to keep the inner leg seam matched up and so that the seam allowances stay exactly the way I want them to go, like this:
Here's what your crotch seam will look like, once you have the whole thing pinned and ready to sew:
Remember, your pins should be on the underneath side of the seam as the pants are laying there facing you. If you're not sure what I mean, see how in the next photo, you can see the head of the pins on the UNDER side? That's how you need to pin this seam.
Now we're going to sew that crotch seam just as we've pinned it, using a standard 5/8" seam allowance. Be sure to place the fabric in the sewing machine with the pins facing up, like in this photo:
You are going to sew the whole way along this seam, taking out your pins as you go. Since this seam basically makes a "U" shape, you'll be sewing along some curves, which can be a little bit tricky. The thing that's tricky is that, because the fabric curves, it can be hard to see that you are maintaining a perfect 5/8" seam allowance. My best suggestion for sewing curves is to go VERY slowly, and ensure that you're maintaining that 5/8" allowance right by where the needle is going in and out -- don't worry about the fabric a few inches ahead.
Another thing to remember is that the red mark or "dot" that we made on the fabric is right at the 5/8" seam line. So, as you sew along, look ahead to your red mark, because if you are sewing a correct 5/8" seam, the needle should go right through the center of your marking, like in the photo below:
As you get to the inner leg seam area, continue to go slowly, and sew right up to the first pin before taking it out, to make sure that the seam allowance from the French seam stays flat and stays to the correct side. Do the same with the second pin that you used in this area, and just remember to go slow because you're putting quite a bit of bulk through your machine:
Now sew the rest of the seam, all the way to the end. Here's what your finished seam will look like:
Here's a close-up showing you that my seam goes right through the red marking on my fabric:
Now, because this is a crotch seam that takes a lot of stress, we're going to sew a portion of it a second time. We're going to sew again, BETWEEN THE TWO RED DOTS, making a line of stitching that is approximately 1/4" INSIDE the seam that you already made. You can follow the 1/2" seam line marking on your machine for this, or you can eyeball it if you're good at that sort of thing. This extra line of sewing is purely for reinforcement, and not appearance, so if you were to sew slightly more or less than 1/4" away from the first seam, it wouldn't matter. So go ahead and sew that second line of stitching just inside the first, starting at one red dot and going to the other red dot (remember to take a few reverse stitches at the beginning and end, just as you would with any seam):
Here is what that seam looks like, now that you've done the initial seam and the second line of stitching:
Next, take your scissors and TRIM the seam allowance, BUT trim it ONLY along the portion of the seam that has the two lines of sewing. Instead of cutting into the seam allowance at a right angle, I usually make a long, smooth angled cut in and then continue to trim between the dots, like this:
So here's how your finished seam will look -- normal, 5/8" seam allowance along the straight part of the front and back, and double-stitched, trimmed seam allowance right along the crotch part of the pants:
Now pull the one pant leg out of the other, so that your pj pants look like this:
Take the pj pants over to the ironing board, and place them over the end so that one of the seams is face up, like this:
What we're going to do is finish the straight, 5/8" seam allowances along the front and back using the flat-felled technique we learned earlier. The only difference is that we'll be doing the seam finish on the INSIDE of the pants this time, rather than the outside. So go ahead and trim down one side of the seam allowance ...
... and then fold the edge, press and pin into place, just like you did for the other flat-felled seams that we made.


That's it -- Part 4 is complete! Hopefully it went well, but if you have any questions, you can post them here or on the 2Peas message board, as before. Next step will be the waistband and elastic, so we're in the home stretch! But until we start that step, definitely be proud of yourself. Look at your garment -- it actually looks like a pair of pj pants, doesn't it?


woohoo! This is great. I am loving those flat felled seams!
ReplyDeleteOuiser/Barbara